1 Stone corner shelf, 1 glue (use glue within 30 days after receiving), 1 metal razor blade, 4 anchoring plates, and instructions. Watch our YouTube video here – https://youtube.com/shorts/eo-wDfyBNN8
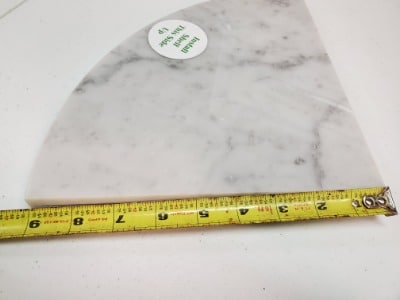
Attached is a picture to show how we define the size of the shelves. But if you start your measuring from the inside corner of the wall and measure out keeping the tape measure against the wall 7, 8 or 9 inches and make a mark, then do the same thing on the adjacent wall and that’s where the shelf will end once installed. Watch our YouTube video here – https://youtube.com/shorts/Lpx5CI1Utqo

Once you place your GoShelf Systems order it takes 1 – 2 days for processing. Depending on your shipping location it can take 2 – 5 days to receive your order via USPS Priority shipping. You will receive an email with your tracking number.
If your using the grout joint, a hand held grout saw, rotary tool, oscillating power tool with a 1/16”grout removal blade or a 4” angle grinder with a thin kerf continuous rim diamond blade all work great(It’s highly recommended that you use the oscillating power tool with the grout removal blade or a grinder if you think your grout joint could possibly be less than 1/16”). If your cutting directly into the tile you will need to use an angle grinder with a tile blade like mentioned above. ** TIP! Use a vacuum while you remove the grout or cutting into the tile to help keep the dust down to a minimum, always wear safety glasses, ear protection and a dust mask.
Yes the shelf is front heavy so it naturally tips forward, but after installation while waiting for the glue to dry, place a full shampoo bottle on the front side of the shelf, it will provide more weight and give a slight pitch to help divert water off the shelf.
Its been tested to hold well over 100lbs. But please keep in mind that the shelf is meant for holding shampoo and soap. If using the shelf as a footrest for shaving, please do so at your own risk.
The GoShelf system was designed for already tiled walls giving people an easy way to have a stone corner shelf after the fact. However if you’re doing a new tile install and would like to use a GoShelf you still can, just tile your walls and when the tile dries you can install the shelf before or after you grout.
No. The glue that we picked is an expanding polyurethane glue that is 100% waterproof so any penetrations to the cement board and or waterproofing membranes that may occur gets resealed by the glue.
Yes, you can split the difference, just make the space or gap between the shelf and the walls the same on both sides. I would only do that if the gaps don’t exceed an 1/8″ on each side. Once you install your grout or caulk it covers/fills the gaps.
For larger gaps and to make the shelf tight to the wall – You can use a wet saw to cut/scribe the shelf to fit your walls. This technique works great. If you have the skills and a wet-saw I recommend doing it this way.
Gorilla Original Waterproof Polyurethane Glue, Brown Glue, Orange Label.
You can use any sanded or non-sanded grout or a sanded or non-sanded grout caulking that best matches your tiles existing grout color. You can find these products at Lowe’s or Home Depot in the tile section. I personally like using the grout caulking for ease of use, put it in a caulk gun and go. Whatever you decide to use make sure you read the instructions on clean-up and how long you should wait for the product to dry before getting it wet.
The hardware is designed for the GoShelf system. Our hardware will not work with shelves sold at box stores or other suppliers. GoShelf is not liable for anything that may go wrong when just the hardware kit is purchased without our full GoShelf system. We offer the hardware kit for $24.95 to GoShelf customers who misplaced or lost the hardware that comes with the GoShelf system.
Yes, you can replace a GoShelf with a new GoShelf. You cannot replace other stone corner shelves with a GoShelf without removing tiles from your walls first. To replace an old GoShelf with a new one start by protecting the surrounding surfaces and wearing safety glasses and gloves. Next you need to carefully hit the damaged shelf with a hammer on the top and bottom of the shelf starting with light taps to harder taps until the shelf starts to break apart allowing the pieces to fall into a box. Try to hold or place the box as close to the bottom of the shelf as possible so that the broken pieces fall right in and do not fall out possibly damaging a tub, glass, or other tiles in the workspace. Once you removed all the stone pieces, you will need to use pilers to pull the old anchoring plates out of the wall. Clean the old glue from the wall slots with a utility knife, grout removal blade or whatever other tool you choose to best do the job. Next follow the basic installation instructions to install the new shelf.
No, you can install GoShelf directly into the tiles using an angle grinder with a diamond blade for cutting tiles. Draw a level line and mark the walls ½” less than 7”, 8” or 9” starting from the inside corner. Use the grinder to plunge into the tile creating the 4 slots needed for the anchoring plates. Use safety gear and a shop vac to help catch the dust. Using an extra set of hands for the vac is recommended.
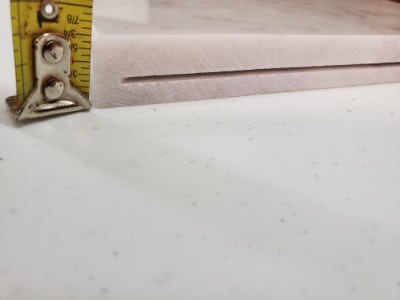
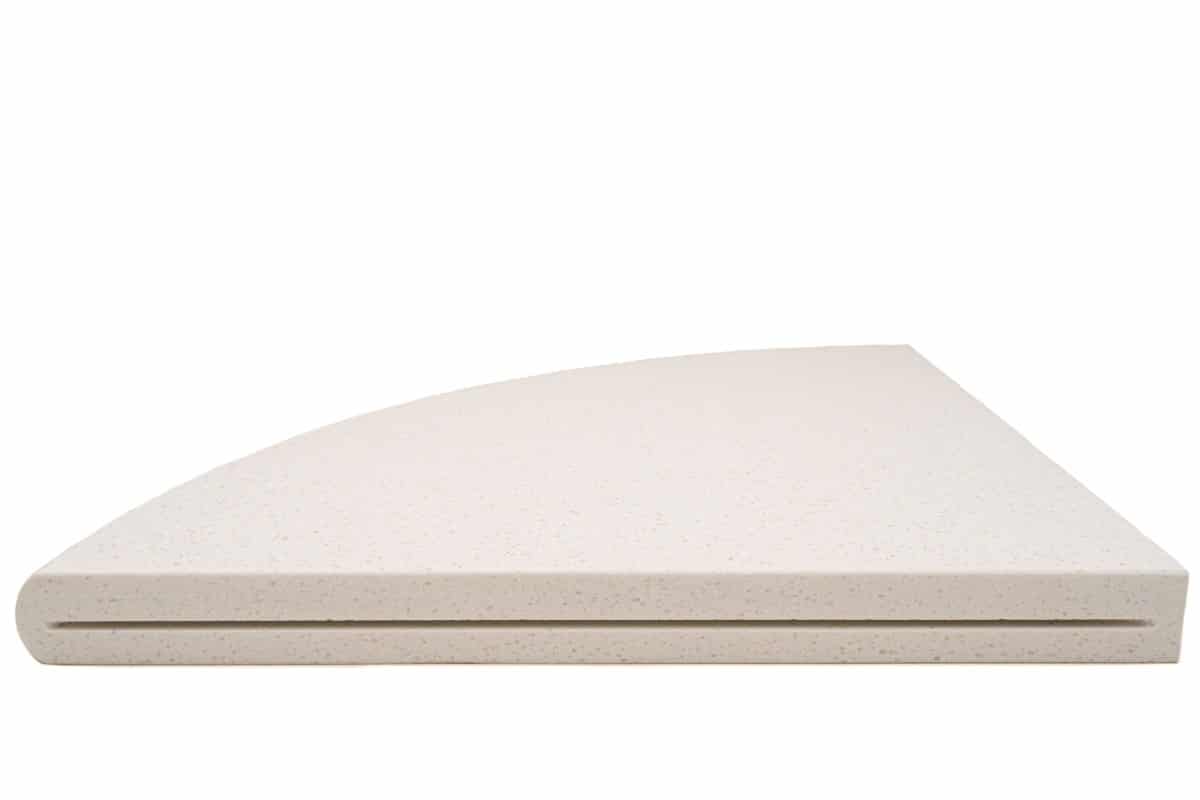
Yes. We place a sticker on the shelf that indicates the top side. If that sticker fell off or was not added the top side of the shelf is the thicker side of the channel that is cut in the shelf. If you like the bottom look of the shelf more than the top side can it be installed that way? Technically it would still work but may not be as strong.


